Receipt
Important: In order to perform a Stock Issue , the logged-in user must have edit access to the Receipt feature.
To receive stock:
- Fill in required order information
- Add items to the receipt
- Submit the order
To receive stock from a vendor into inventory, use Receipts.
- Select Home > Orders > Receipts.
- The Order Receipt form appears.
- Order Number (required): Enter an order number in this field. If auto-numbering is used press the Generate button to load the next the order number.
- Vendor (required): Select a Vendor from the Select Vendor form.
- User Defined Fields (optional): Select the right arrow to reach the User Defined Fields form. Enter specialized order information in up to four user defined fields. Select the back arrow or Done to return to the Order Receipt form.
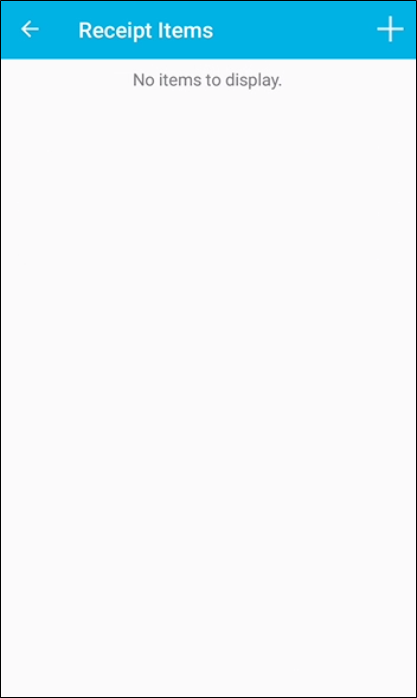
- Items: select the right arrow to reach the Receipt Items form.
- Receipt Items Form: To add a receipt item, select the Add button.
- The Add Receipt Item form appears: Enter the item detail information.
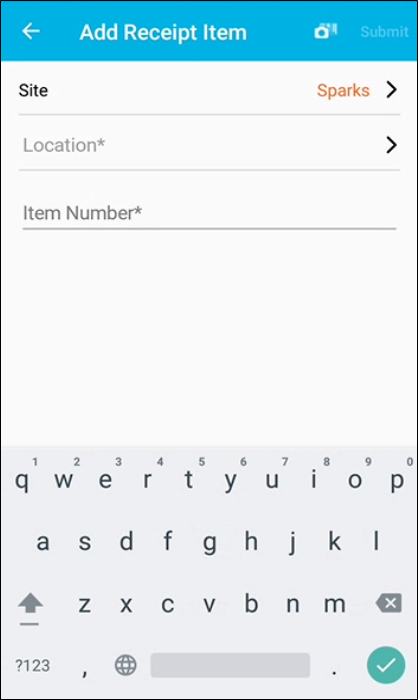
- Site: automatically uses the default site. To select another site, tap the right arrow to reach the Site form and select the site from the list.
- Location: enter the location of the receipt item.
- You may select the location from the Location form. This form lists the locations at this site.
- Item Number: enter the receipt item.
- Quantity: enter the receipt quantity.
- UOM: if multiple units of measure are used, enter the unit of measure for the receipt item.
- If Enable Drop Down is ON for Receipts, and your division uses multiple units of measure, you may select the unit of measure from the UOM form.
- Lot: if a lot is required, enter the item lot.
- Expiration Date: if the item requires an expiration date, select it from the calendar.
- Serial Number: required for a serial item; enter the serial number for each item being received at the Enter Serial Numbers form. Tap the Back Arrow or Done to return to the Receipt Items form.
- Unit Cost: required for a Track Cost item; enter the unit cost for the item being received.
- RFID Tag Number: enter for an RFID tag number if applicable, at the Enter Serial Numbers form. Tap the Back Arrow or Done to return to the Receipt Items form.
- Submit: select to add the item to the order.
- You are returned to the Add Receipt Item form.
- Repeat steps 10-18 to add another receipt item.
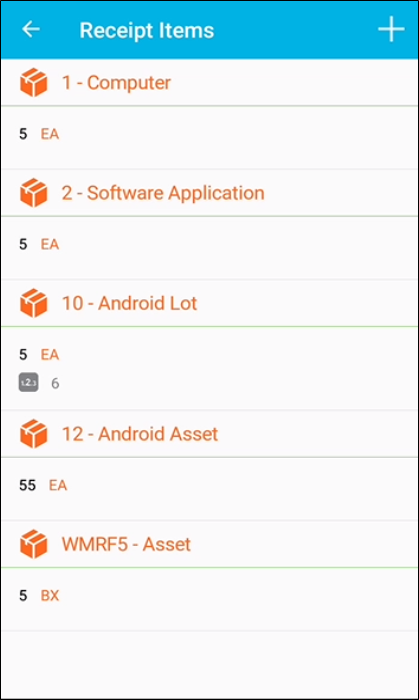
- When you are finished adding items to the order, press the Back Arrow to exit this form.
- You are returned to the Receipt Items form. All items added to the receipt order appear.
- To submit the order, press the Back arrow to return to the Order Receipt form.
- Press Submit to submit the order. The order is processed. You are notified that the order was submitted successfully. The Receipt Order form closes. You are returned to the Orders form.