Check In
Note: In order to perform an asset check in, your user role must include the Check In feature.
- Fill in required order information
- Add assets for check in
- Submit the final order
Check in an asset at the Check In form.
- Select Home > Assets > Check In to reach the Check In form.
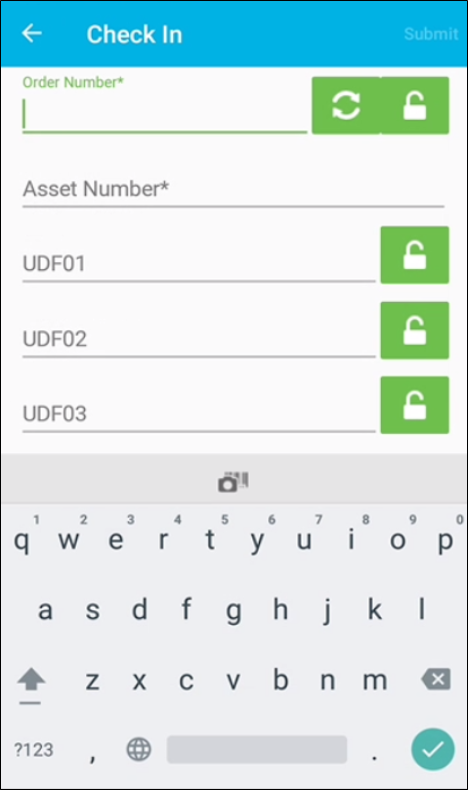
- Order Number (required): if the system uses the Check In Order Auto Numbering feature, tap the Generate Order Number icon to automatically generate a Check In order number. Or, enter an order number in this field.
- Order Number Lock Icon: if you are checking in multiple assets during this check in order session, tap the Lock icon to lock this order number. Then, you may continue to add assets to it.
- Asset Number (required): add the asset for check in.
- UDF01 (optional): user defined field; enter any customized information about the check in order in this field. Accepts alphanumeric input.
- UDF02 (optional): user defined field; enter any customized information about the check in order in this field. Accepts alphanumeric input.
- UDF03 (optional): user defined field; enter any customized information about the check in order in this field. Accepts alphanumeric input.
- UDF04 (optional): user defined field; enter any customized information about the check in order in this field. Accepts alphanumeric input.
- UDF field Lock icon: if you are checking in multiple assets during this check out order session, tap the Lock icon to the right of the UDF field, to lock the value; or if you are not using any UDF fields during this check out session, lock each UDF field so that you are not prompted to scan a value into it for each asset.
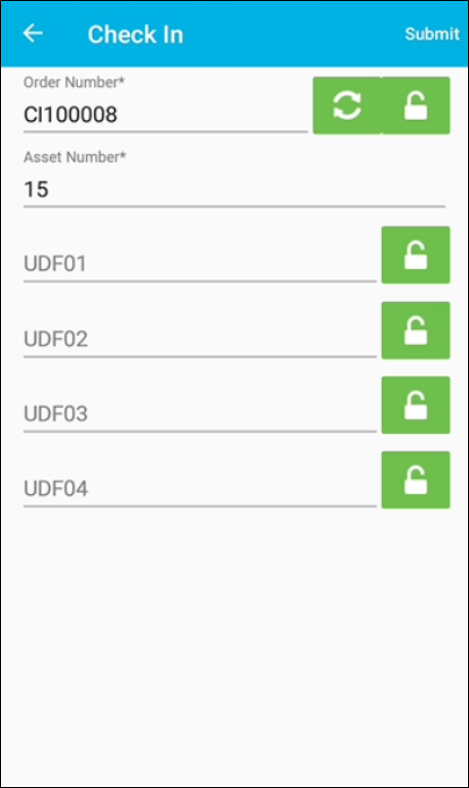
- When you are finished adding assets to this check in session, press Submit to submit the check in order and check in all assets added to this Check In order.